Learn how to build a walking, talking humanoid robot from scratch. Step-by-step guide covering servos, frames, programming, and AI integration.
Can You Really Build a Humanoid Robot?
Yes! Building a humanoid robot is more accessible than ever. You won't be building the next Atlas, but you can create a walking, gesture-making, sensor-equipped humanoid robot for under €200.
This guide walks you through everything from choosing components to writing your first walking algorithm.
What You'll Build
By the end of this guide, you'll have a humanoid robot that can:
•Walk forward and backward
•Turn left and right
•Detect and avoid obstacles
•Respond to commands
•Perform simple gestures
Bill of Materials
The Brain
You have two options:
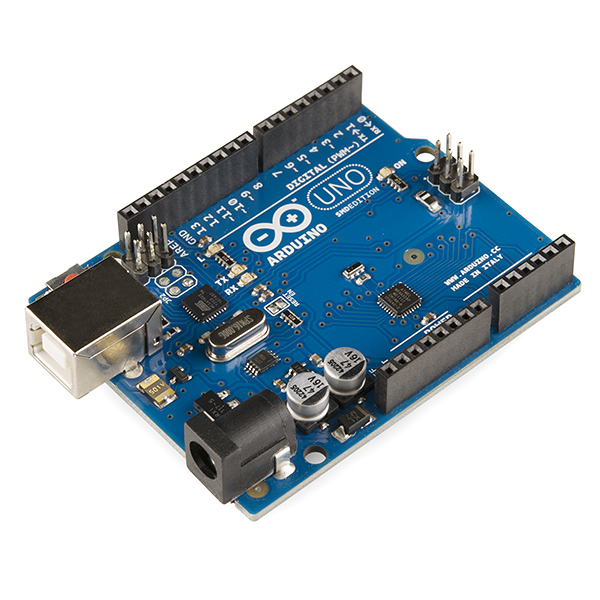
**Option A: Arduino (Simpler, Cheaper)**
•Arduino Mega 2560 — €15-20
•Handles up to 48 servos
•Program in C/C++
•Best for: pure walking and movement
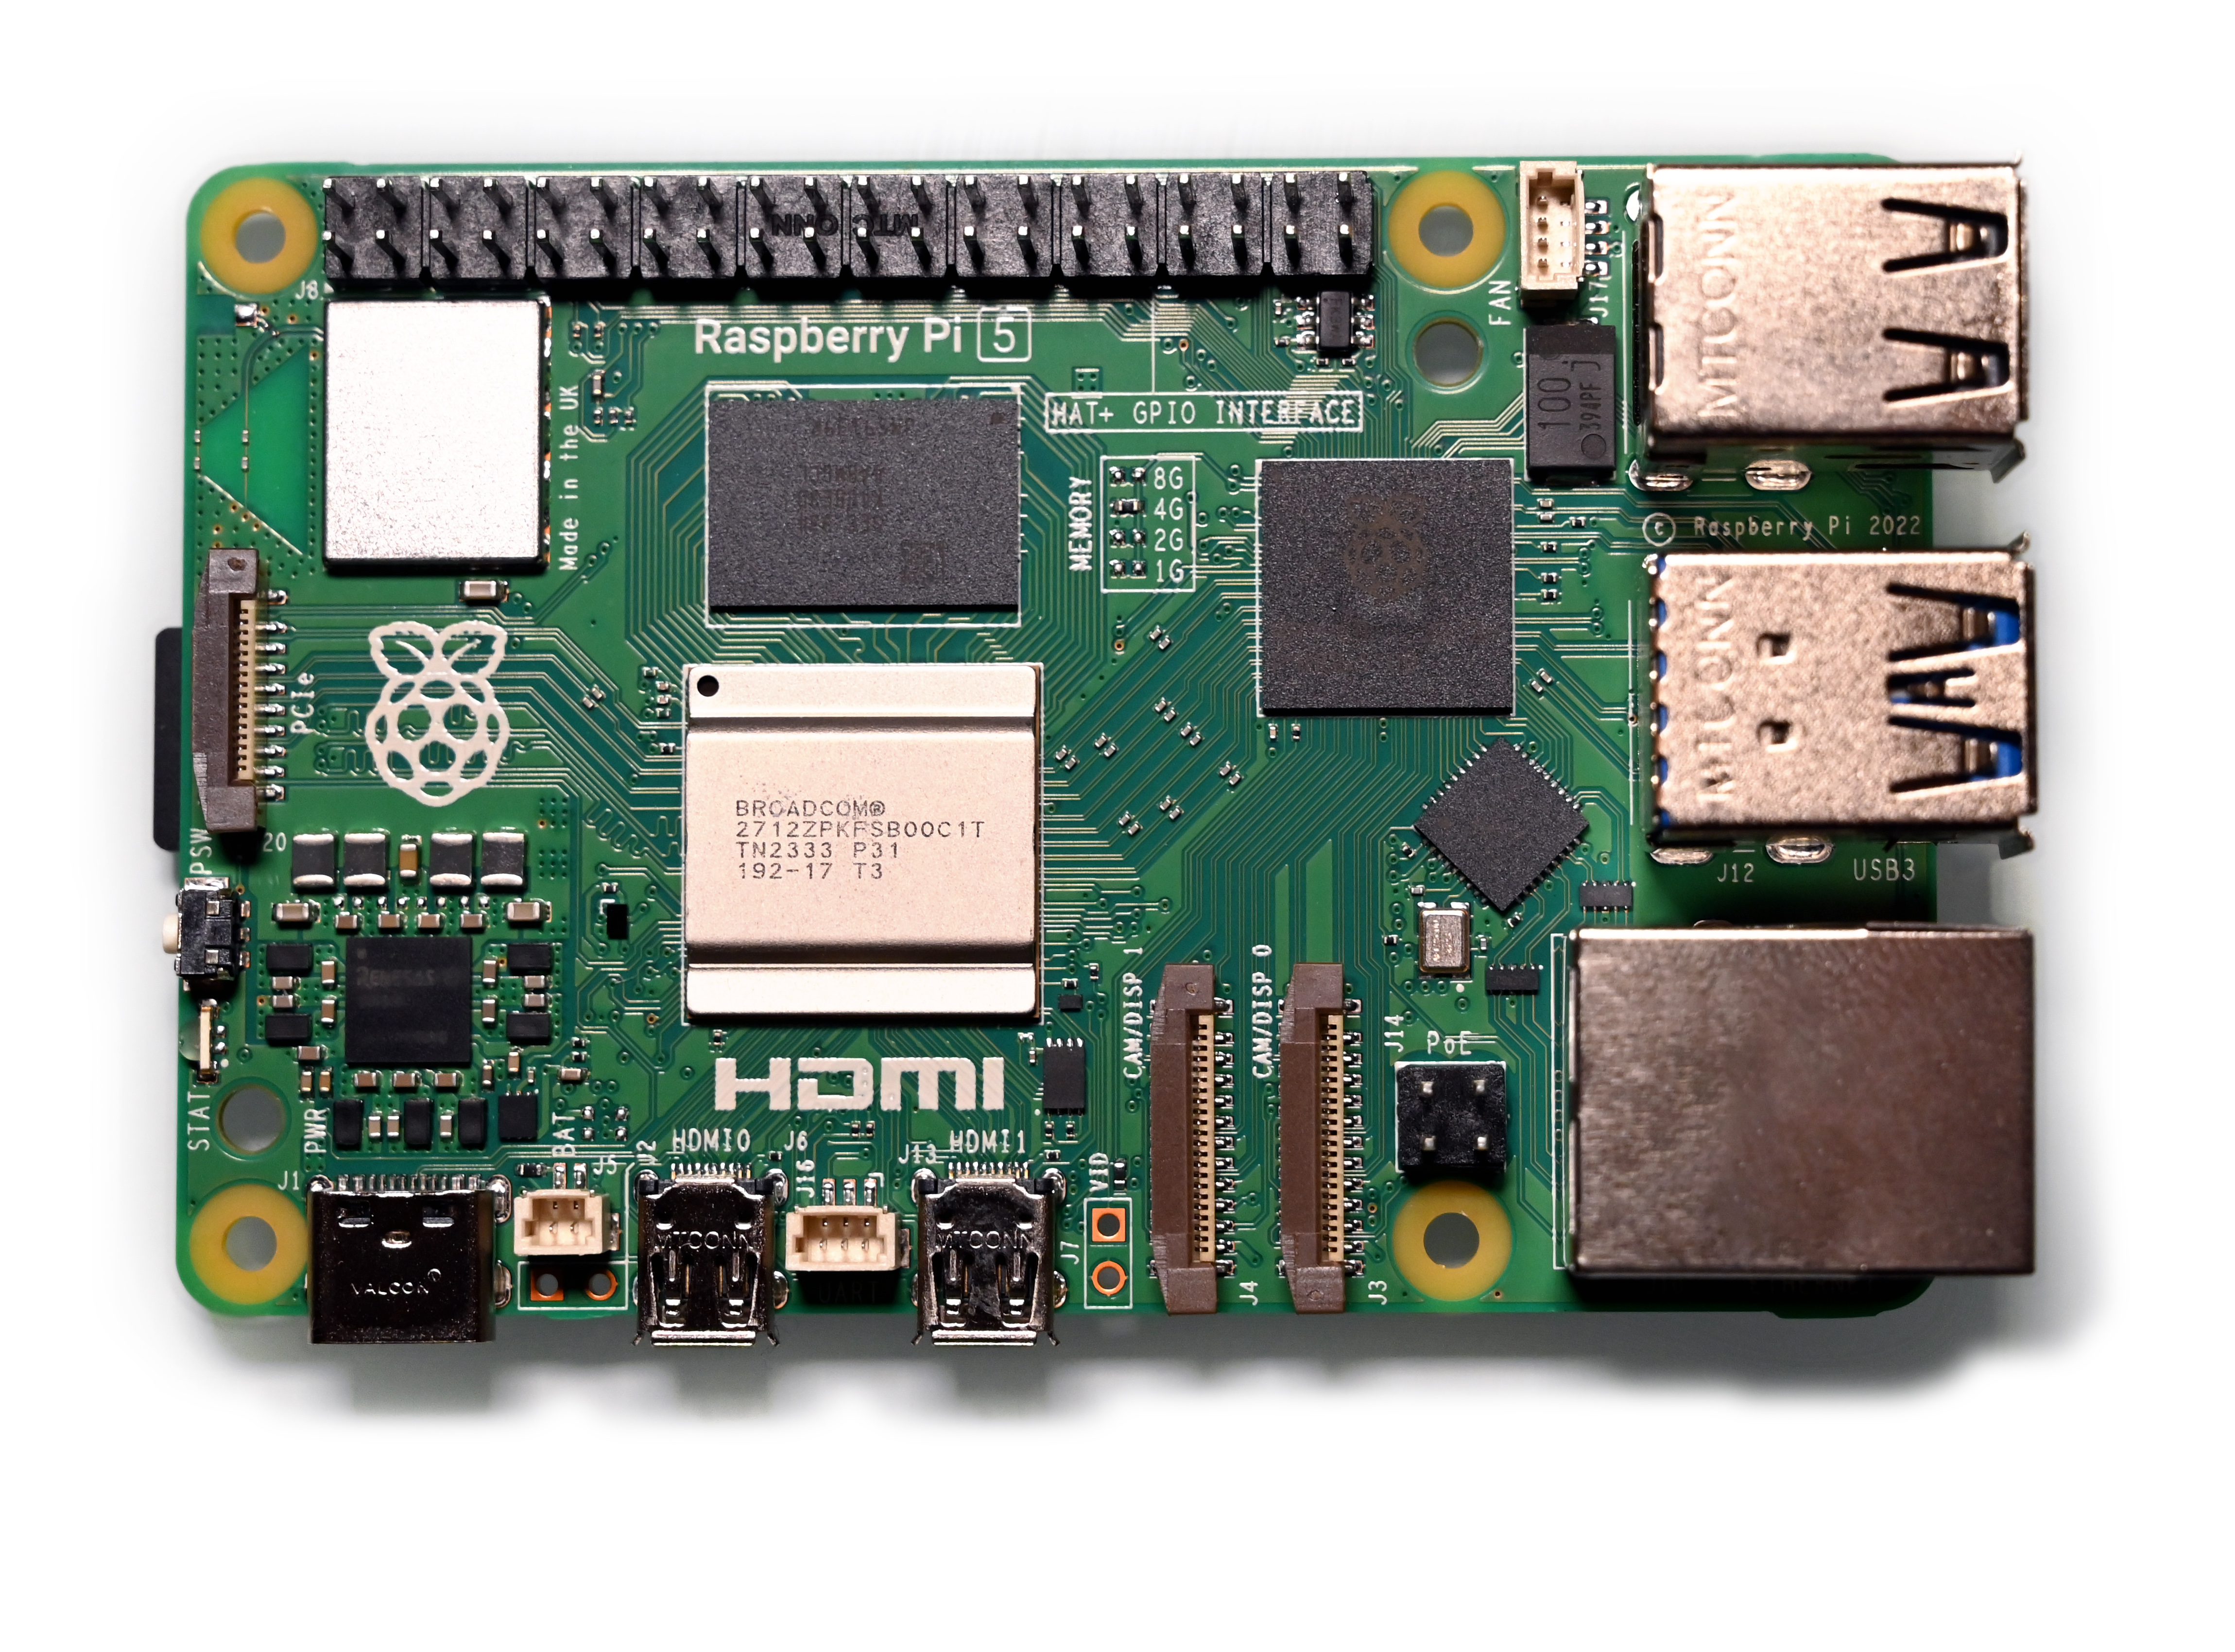
**Option B: Raspberry Pi (More Powerful)**
•Raspberry Pi 5 — €90
•Add camera, voice, AI capabilities
•Program in Python
•Best for: AI-enhanced humanoid
The Body
•Servo bracket kit — Pre-cut aluminum brackets designed for humanoid robots — €30-50
•**Alternatively:** 3D print your own frame (files available free on Thingiverse)
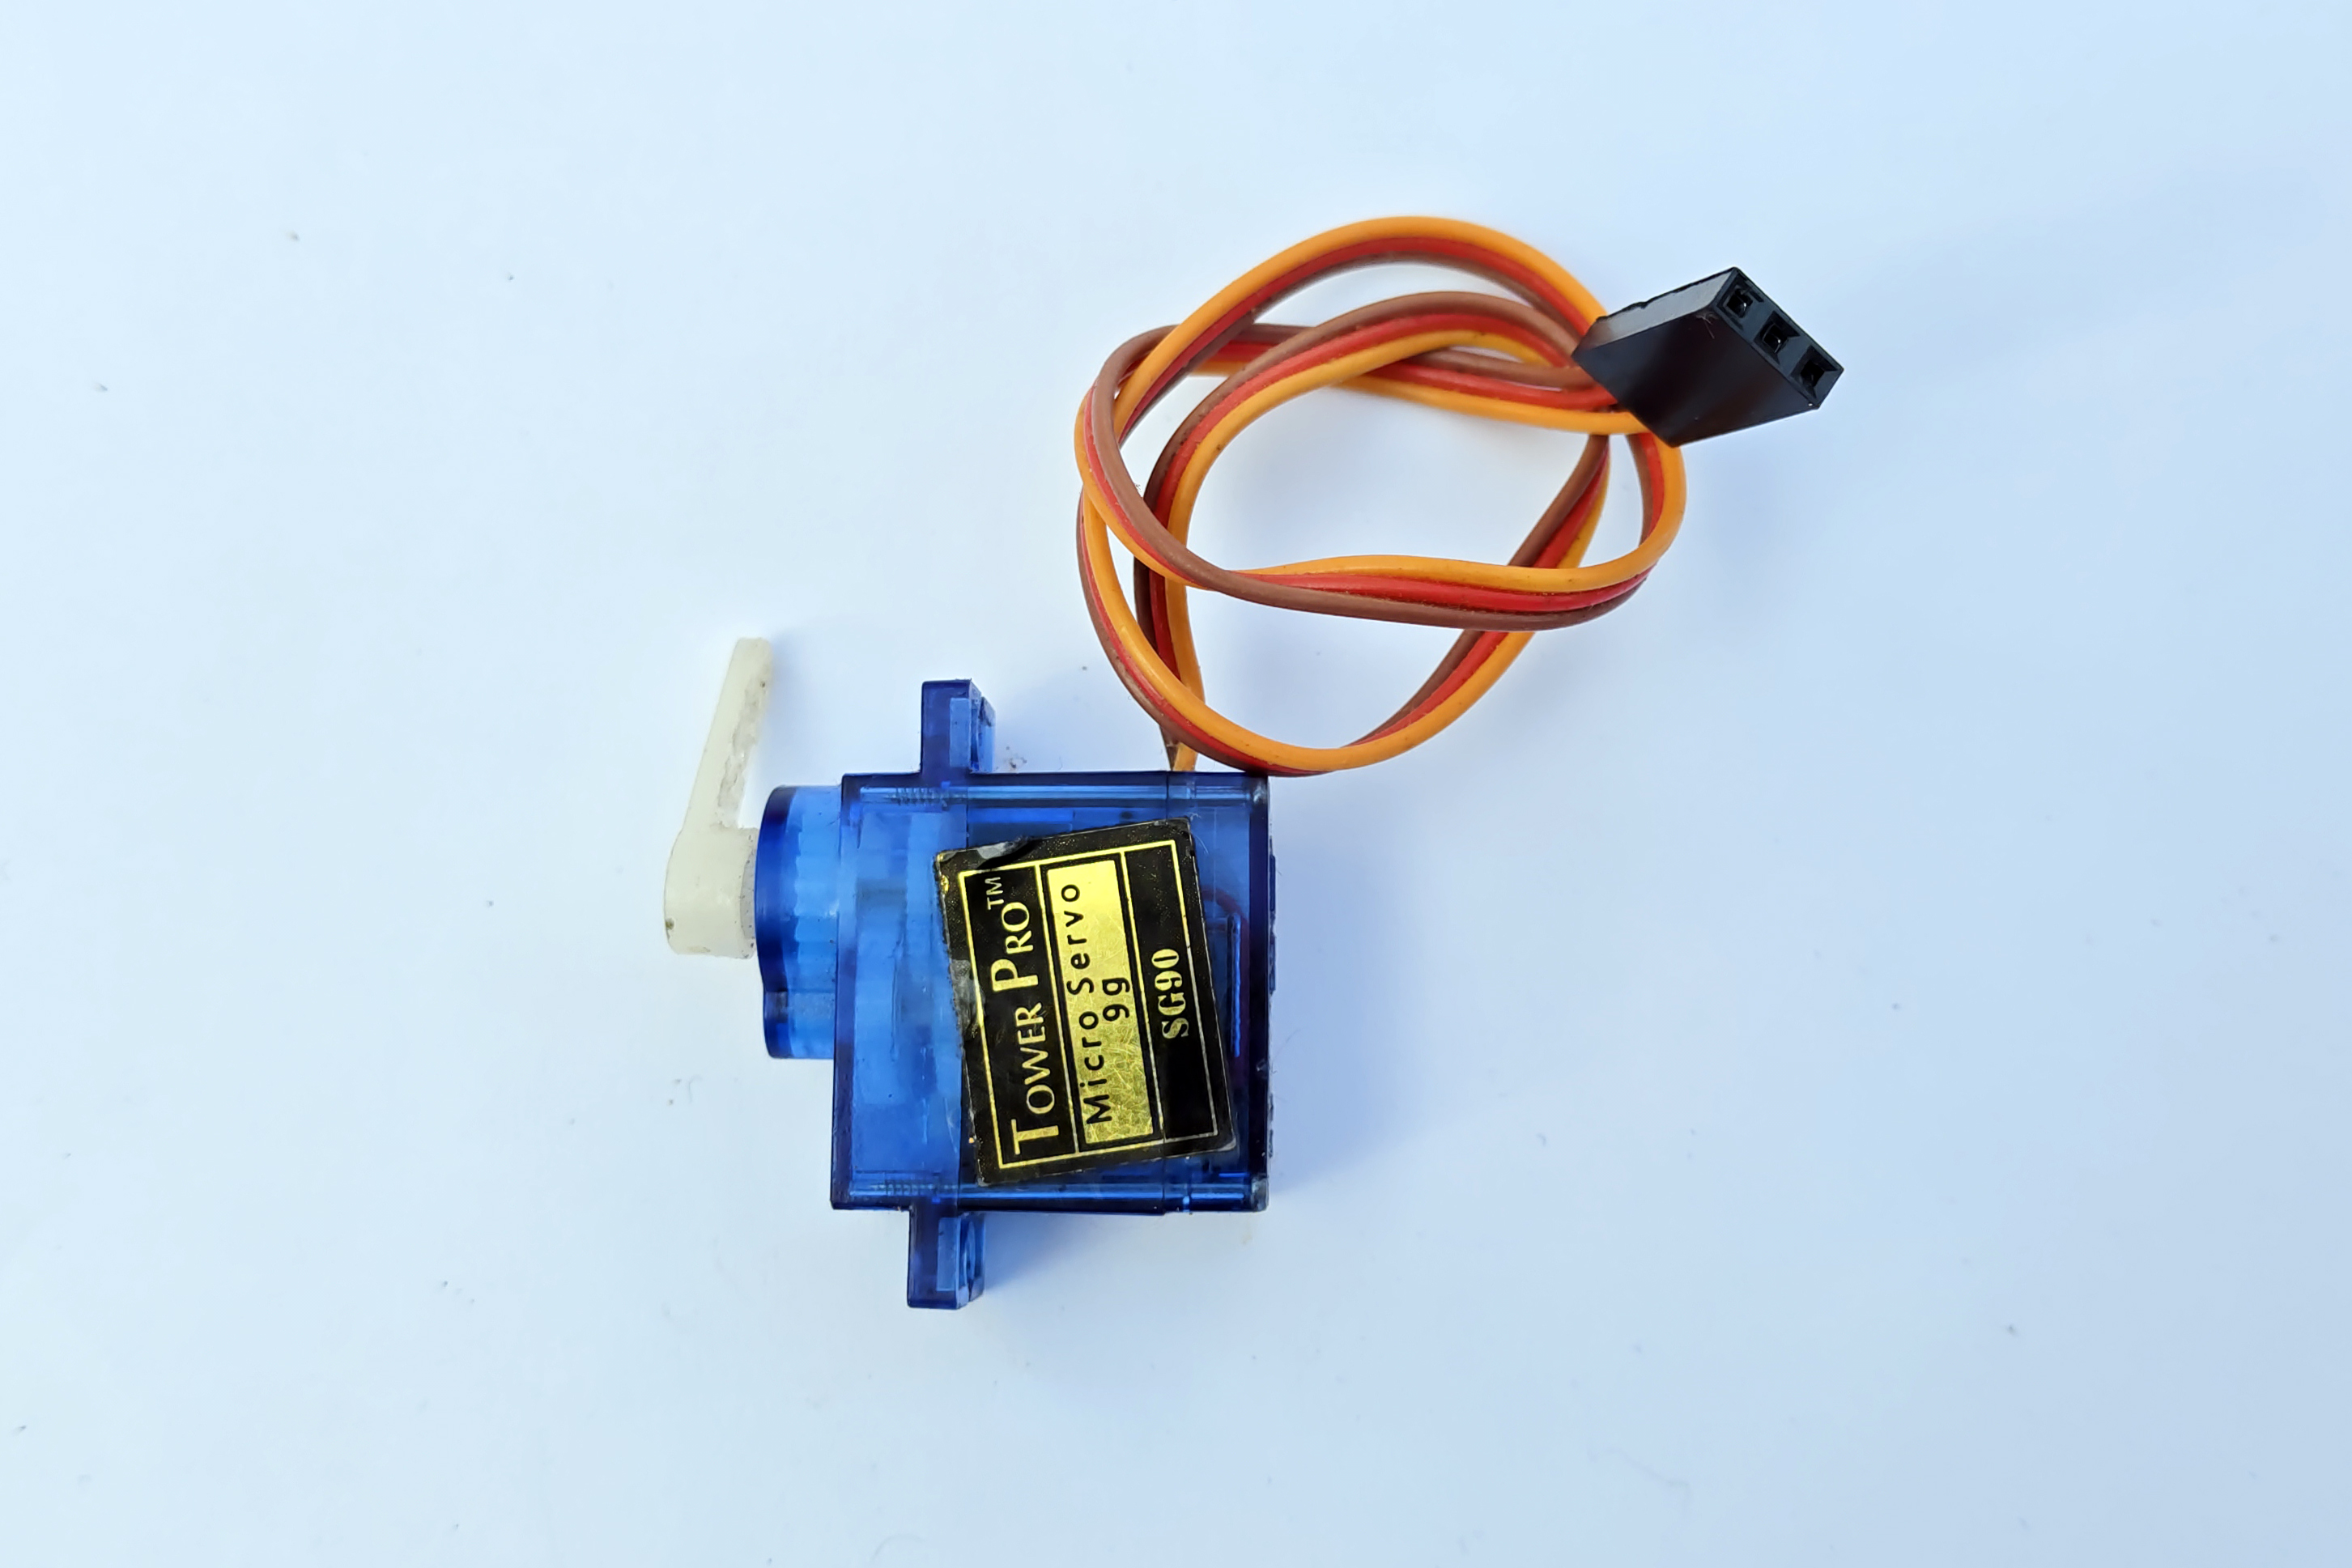
The Muscles (Servos)
•**12-16 servo motors** (MG996R for legs, SG90 for arms) — €40-60
•Legs need high-torque servos (at least 10kg/cm)
•Arms can use lighter servos
The Nervous System
•**Servo driver board** (PCA9685) — €5-8
•Controls up to 16 servos from one I2C connection
•You might need two boards for a full humanoid
The Senses
•**Ultrasonic sensor** (HC-SR04) — €3
•**IMU/Gyroscope** (MPU6050) — €5 — critical for balance
•**Camera module** (optional) — €15-30
Power
•**LiPo battery** (7.4V 2S, 2000mAh+) — €15-20
•Voltage regulator — to power both servos and brain
**Total cost: €120-200** depending on options chosen.
Step 1: Understanding Humanoid Movement
Before building, you need to understand how bipedal walking works.
Degrees of Freedom (DOF)
Each joint that can move is one DOF. A basic humanoid needs:
•**Hips:** 2 DOF each (forward/back, side-to-side) = 4 total
•**Knees:** 1 DOF each = 2 total
•**Ankles:** 2 DOF each (tilt forward, tilt side) = 4 total
•**Total legs:** 10 DOF minimum
For arms, add:
•**Shoulders:** 1-2 DOF each = 2-4 total
•**Elbows:** 1 DOF each = 2 total
**Minimum viable humanoid: 12 DOF**
The Walking Cycle
Walking is controlled falling. The basic cycle:
1.Shift weight to left foot
2.Lift right foot
3.Move right foot forward
4.Place right foot down
5.Shift weight to right foot
6.Repeat with left foot
The key is the **center of gravity**. Your robot must keep its center of gravity over its support foot at all times, or it falls.
Step 2: Assembling the Frame
Leg Assembly
1.Start with the feet — attach ankle servos to the foot plates
2.Connect ankle to shin brackets
3.Add knee servos
4.Connect to thigh brackets
5.Add hip servos
6.Connect both legs to the hip plate/body
Body and Arms
1.Mount the main body plate to the hip assembly
2.Attach shoulder servos
3.Connect upper arm brackets
4.Add elbow servos and forearm brackets
5.Mount the head (ultrasonic sensor + camera)
**Key tip:** Number every servo with tape. You'll thank yourself when debugging which joint isn't moving correctly.
Step 3: Wiring
Power Distribution
•LiPo battery connects to a power distribution board
•Servos get direct battery voltage (6-7.4V)
•Arduino/Pi gets regulated 5V through a BEC or voltage regulator
•NEVER power servos from the Arduino's 5V pin — it can't handle the current
Servo Connections
•Connect all servos to PCA9685 servo driver board(s)
•Connect PCA9685 to Arduino/Pi via I2C (SDA, SCL pins)
•This keeps wiring clean and uses only 2 pins for all servos
Sensor Connections
•Ultrasonic sensor: 2 digital pins (trigger + echo)
•MPU6050 gyroscope: I2C (same bus as servo driver)
•Camera: USB or CSI ribbon cable (Pi only)
Step 4: Programming the Walk
Calibration First
Before walking, center all servos:
1.Set all servos to 90 degrees
2.Attach all brackets at their neutral position
3.Make sure the robot stands straight
4.Save these center values — they're your reference point
The Walking Algorithm
The simplest walking approach uses keyframe animation:
1.Define a series of poses (keyframes)
2.Smoothly interpolate between them
3.Loop the sequence
A basic walk cycle has 6-8 keyframes. Each keyframe specifies the angle for every servo.
Balance Control
The MPU6050 gyroscope measures tilt in real-time. Use this feedback to adjust ankle servos and keep the robot balanced. This is the hardest part of humanoid robotics.
Basic balance algorithm:
1.Read tilt angle from gyroscope
2.If tilting left, adjust right ankle to compensate
3.If tilting forward, adjust both ankles backward
4.Apply corrections continuously (at least 50 times per second)
Step 5: Adding Intelligence
Once your robot walks, you can add smarts:
Obstacle Avoidance
Use the ultrasonic sensor to detect obstacles ahead. When something is within 30cm, stop and turn.
Voice Control
With a Raspberry Pi, add a microphone and use speech recognition to control your robot with voice commands.
Computer Vision
Add a camera and use OpenCV to detect faces, track objects, or recognize gestures.
Remote Control
Add Bluetooth or WiFi for smartphone control. Many libraries exist for building control apps.
Common Problems and Solutions
**Robot falls over immediately:**
•Check center of gravity — is the battery placed symmetrically?
•Feet might be too small — increase foot plate size
•Servos might be too weak for the weight
**Servos jittering:**
•Power supply can't deliver enough current
•Use a larger LiPo battery or better voltage regulator
**Walking is wobbly:**
•Slow down the walk cycle
•Increase the lateral shift during weight transfer
•Add the gyroscope balance correction
**One leg moves differently than the other:**
•Servo calibration is off — recalibrate center positions
•Check if a servo is wired to the wrong channel
Next Steps
Once you have a walking humanoid:
1.**Enter competitions** — RoboCup, FIRA, local maker faires
2.**Add manipulation** — Upgrade hands with grippers
3.**Implement SLAM** — Add LiDAR for autonomous navigation
4.**Share your build** — Document and post on YouTube, Reddit, Instructables
Conclusion
Building a humanoid robot is one of the most challenging and rewarding projects in robotics. It combines mechanical design, electronics, programming, and control theory into one incredible package.
Start simple — get your robot standing, then walking, then add intelligence. Don't try to build Atlas on your first attempt. The learning journey is the real reward.