Learn how to build your first robot from scratch. This beginner-friendly guide covers everything from choosing components to writing your first code.
What You'll Build
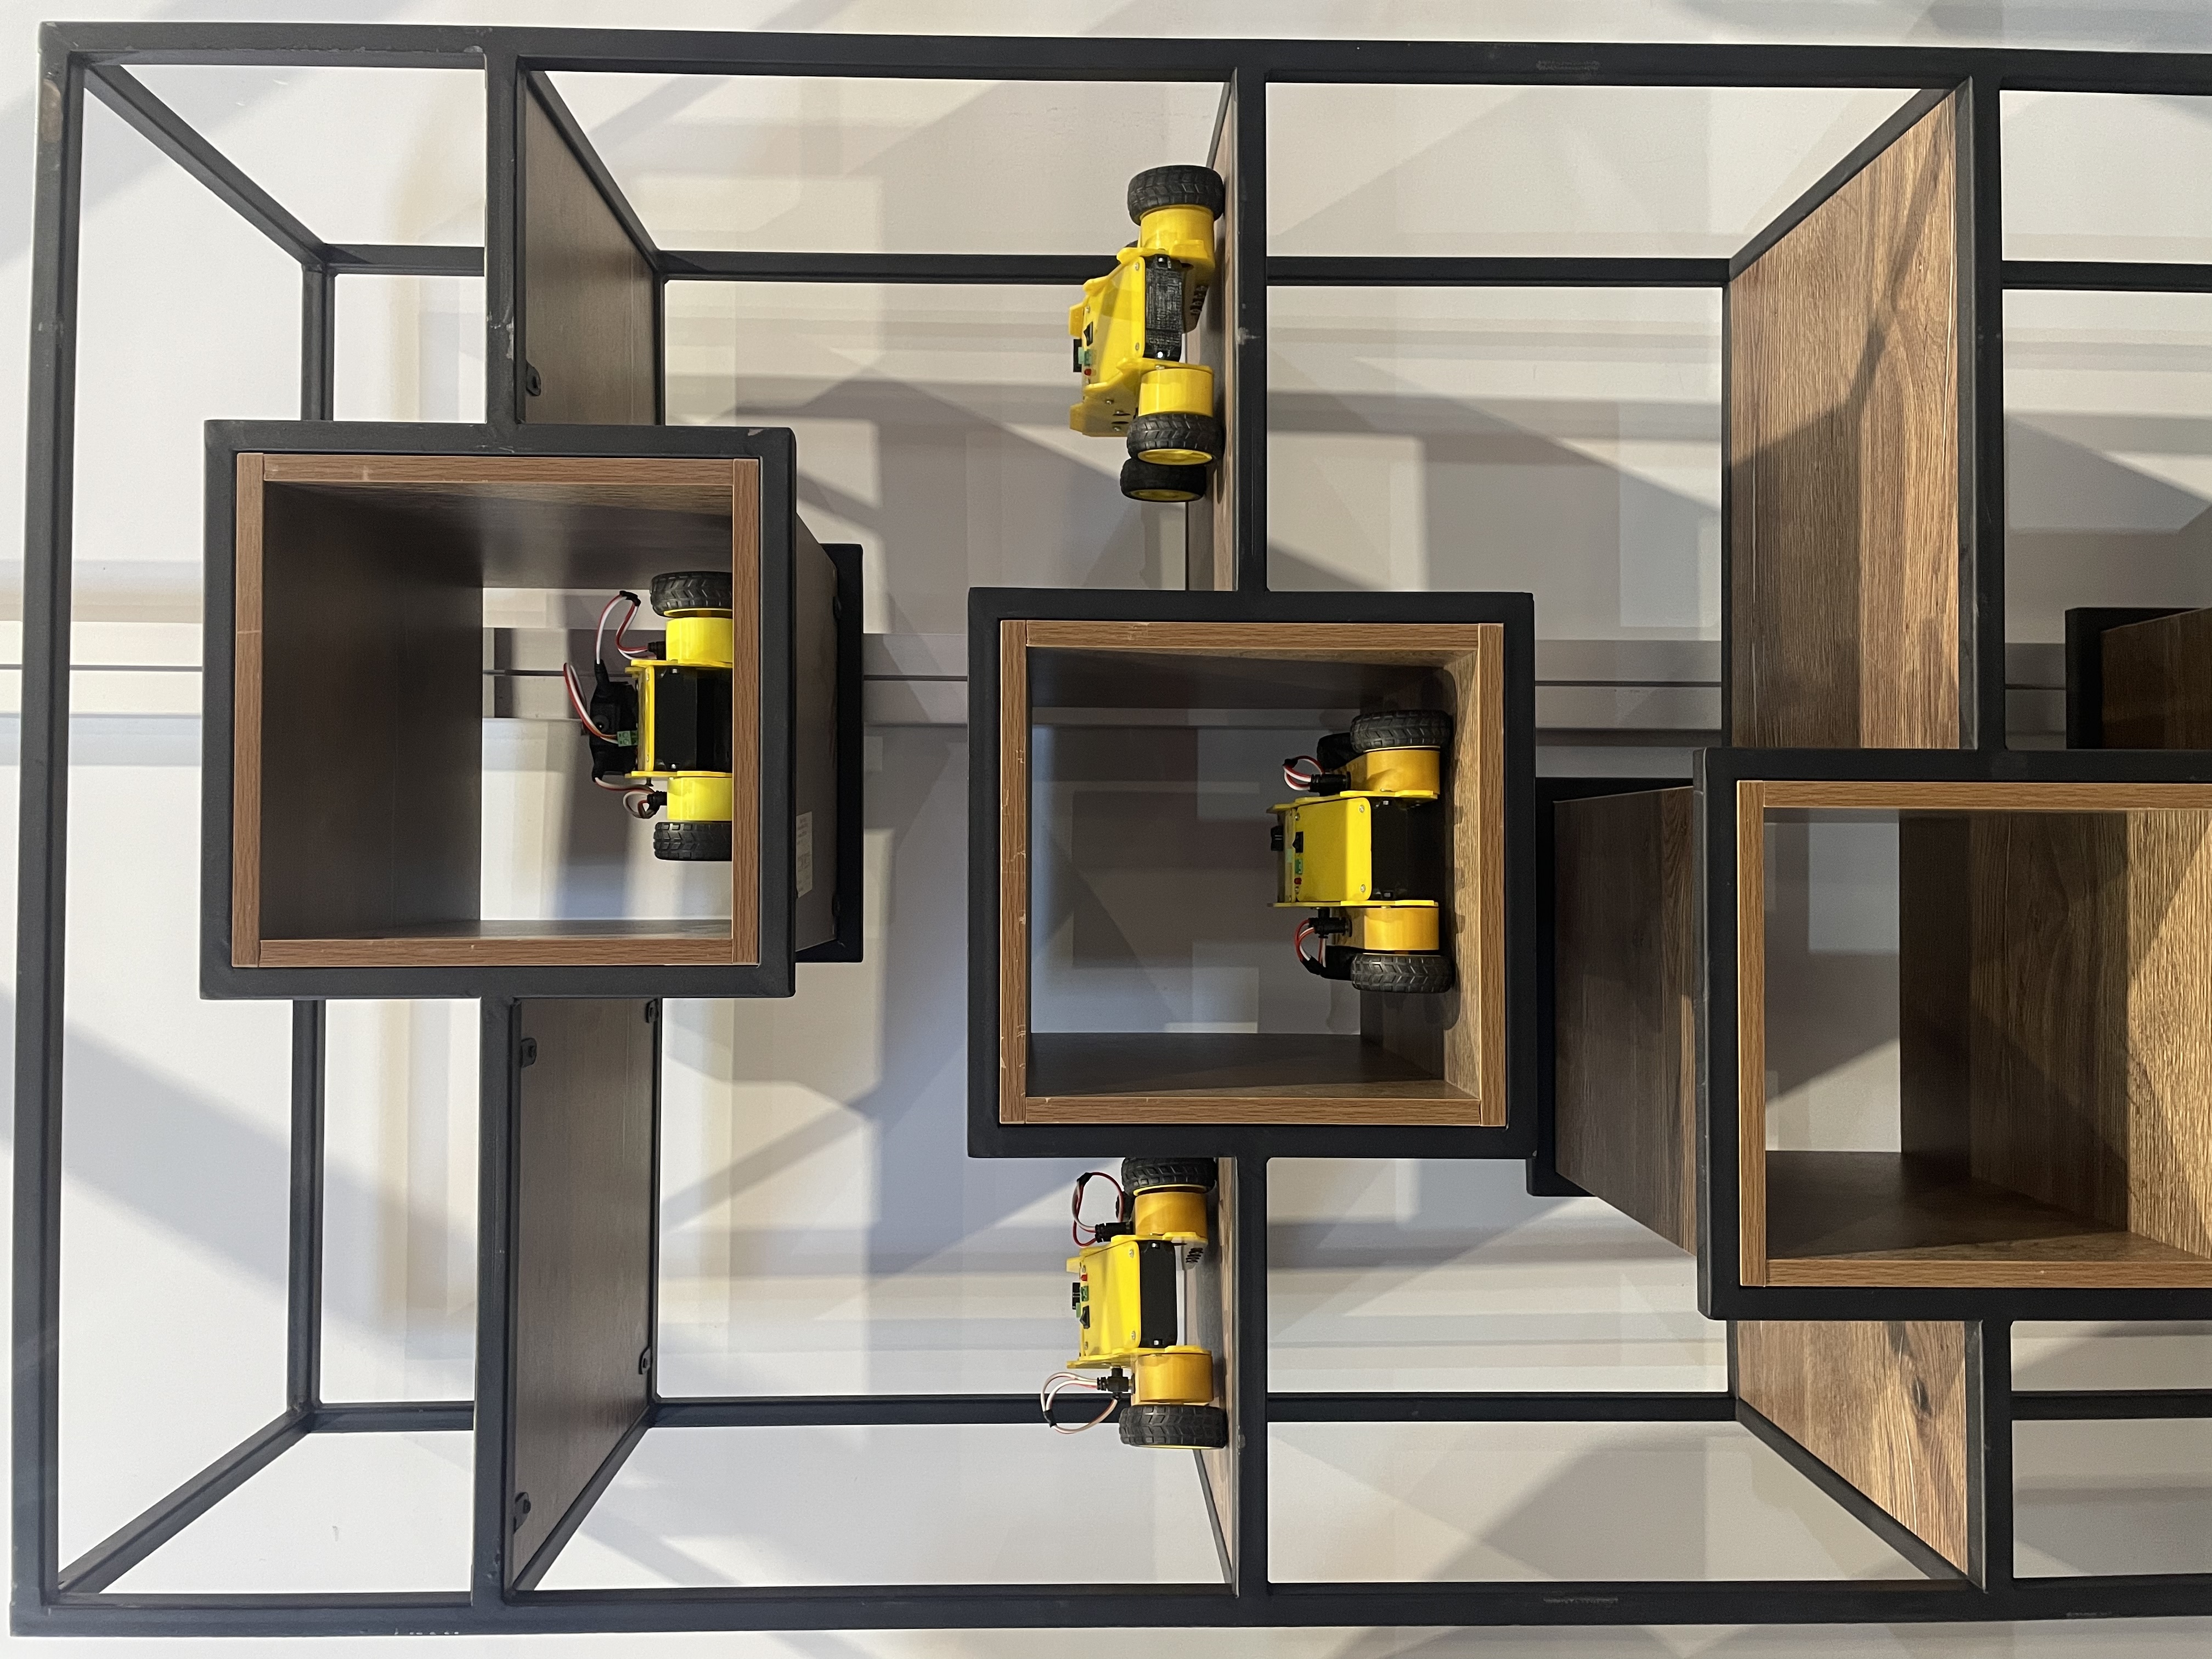
In this guide, you'll build a simple obstacle-avoiding robot — a small car that drives forward and turns when it detects something in its path. This is the classic first robotics project because it combines all the fundamentals.
What You Need
Here's your shopping list:
Essential Components
•4WD Robot Car Chassis Kit — frame, motors, wheels, and battery holder
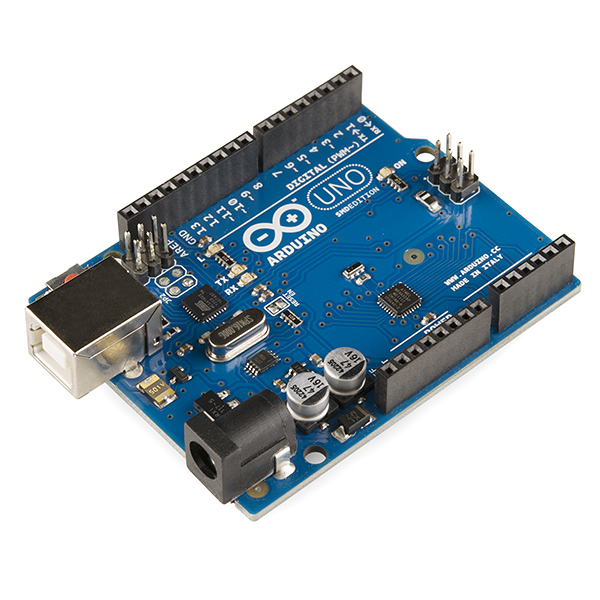
•Arduino Uno — the robot's brain
•Ultrasonic Sensor (HC-SR04) — measures distance to detect obstacles
•Motor Driver (L298N) — lets the Arduino control the motors
•**9V Battery** or 4x AA battery pack — power source
•Jumper wires — to connect everything
Optional but Recommended
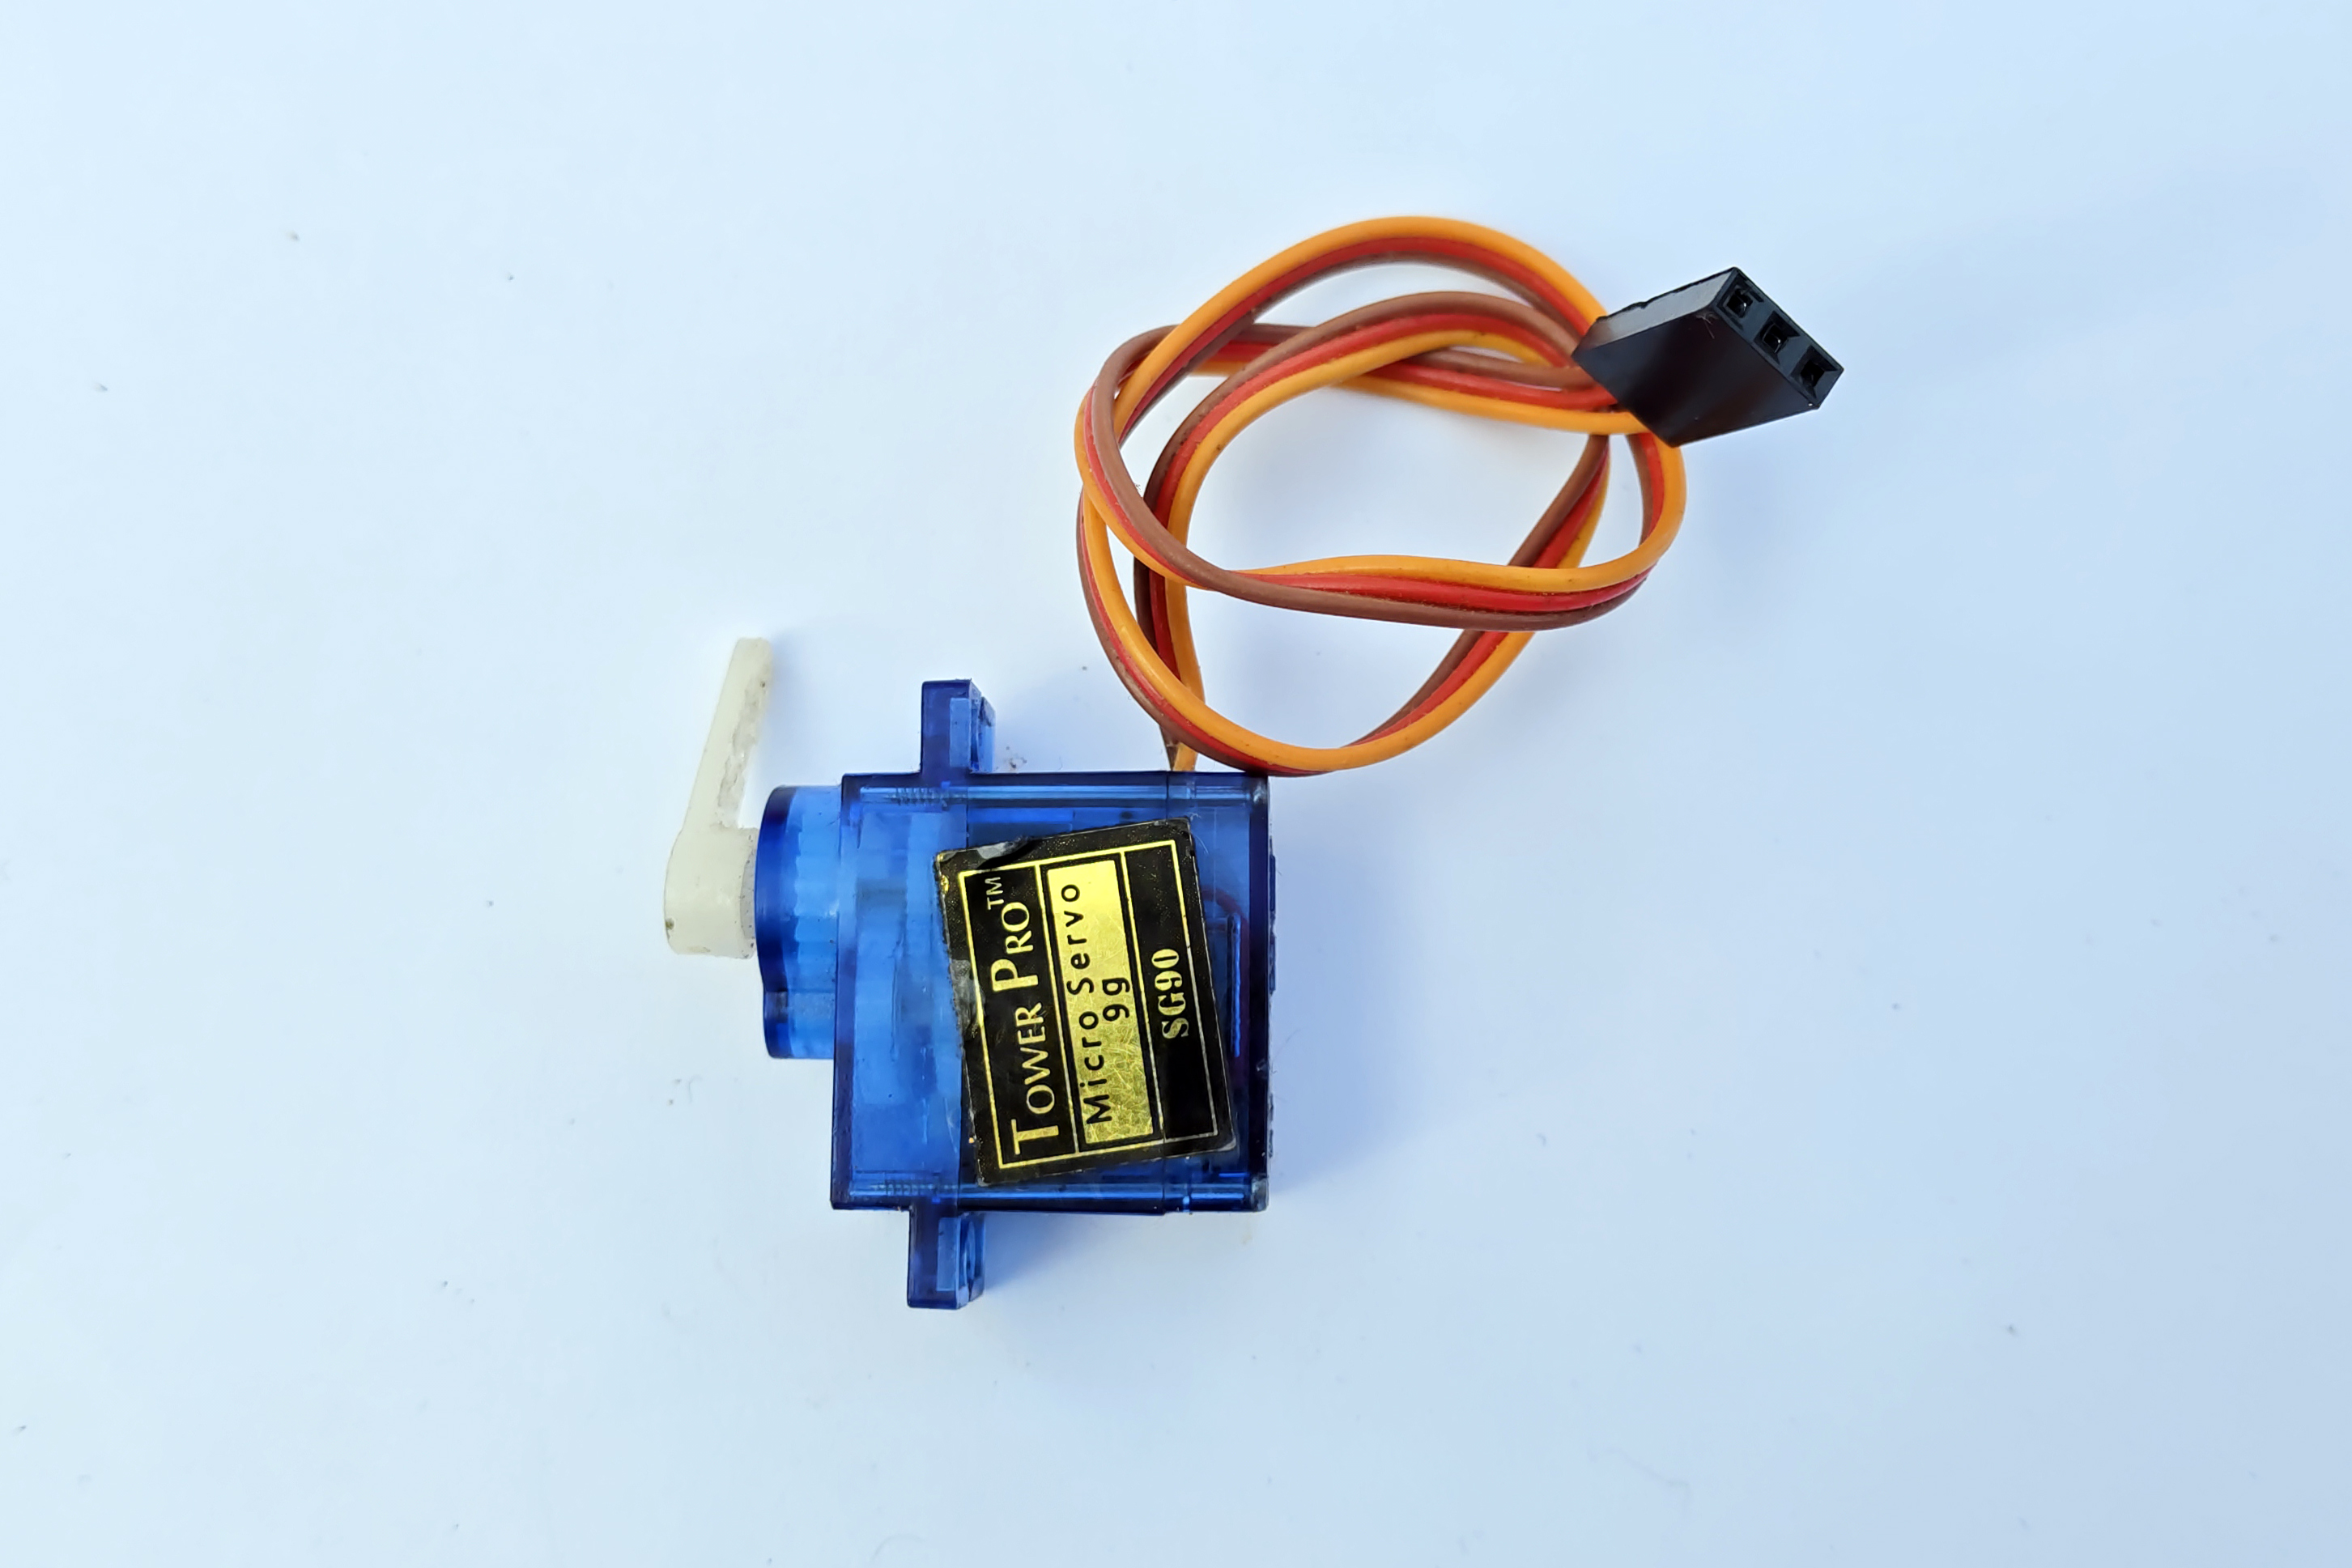
•Servo motor — to mount the ultrasonic sensor and let it "look" left and right
•Breadboard — for cleaner wiring
•LED — for status indication
Total cost: approximately €50-70 depending on where you buy.
Step 1: Assemble the Chassis
Most 4WD chassis kits come with clear assembly instructions:
1.Attach the 4 DC motors to the acrylic frame using the included brackets and screws
2.Press the wheels onto the motor shafts
3.Mount the battery holder underneath the bottom plate
4.Stack the top plate using the standoffs provided
**Tip:** Don't fully tighten the screws yet — you might need to adjust positions when adding electronics.
Step 2: Wire the Motor Driver
The L298N motor driver board sits between the Arduino and the motors:
1.Connect the left two motors to Motor A outputs
2.Connect the right two motors to Motor B outputs
3.Connect the battery pack to the 12V input and GND
4.Connect the motor driver's input pins to Arduino digital pins:
•IN1 → Pin 5
•IN2 → Pin 6
•IN3 → Pin 9
•IN4 → Pin 10
5.Connect the motor driver's 5V output to Arduino's 5V pin
Step 3: Wire the Ultrasonic Sensor
The HC-SR04 sensor detects obstacles by sending out sound pulses:
1.Mount the sensor at the front of the robot, facing forward
2.Connect VCC to Arduino 5V
3.Connect GND to Arduino GND
4.Connect TRIG to Arduino Pin 7
5.Connect ECHO to Arduino Pin 8
Step 4: Upload the Code
Open the Arduino IDE and upload this logic:
1.**Measure distance** — send a pulse from the ultrasonic sensor and measure how long it takes to return
2.**If distance > 30cm** — drive forward (both motor pairs forward)
3.**If distance < 30cm** — stop, turn right for 500ms, then check again
4.**Repeat** — the robot continuously checks and adjusts
The basic algorithm is simple but effective. Your robot will navigate around a room avoiding walls and furniture.
Step 5: Test and Adjust
1.Place your robot on the floor in an open area
2.Turn it on and watch it go
3.Common issues and fixes:
•Robot goes backward — swap the motor wire connections
•Robot turns the wrong way — swap left and right motor connections
•Robot doesn't detect obstacles — check ultrasonic sensor wiring, make sure it's not blocked
•Robot is too fast — use PWM (analogWrite instead of digitalWrite) to reduce speed
Improving Your Robot
Once the basic robot works, try these upgrades:
Add a Servo Sweep
Mount the ultrasonic sensor on a servo motor. Before turning, the robot can look left and right to choose the best direction.
Add Line Following
Add infrared sensors pointing down to follow a black line on white paper. This is a classic robotics challenge.
Add Bluetooth Control
Add an HC-05 Bluetooth module and control your robot from your phone.
Add a Camera
Upgrade to a Raspberry Pi as the brain and add a camera for computer vision. Your robot can then recognize objects, faces, or follow specific colored items.
Conclusion
Building your first robot is an incredible learning experience. You'll gain hands-on skills in electronics, programming, and mechanical assembly that form the foundation for more advanced projects.
The obstacle-avoiding robot is just the beginning. Once you've built it, you'll have the confidence and knowledge to tackle increasingly complex builds.